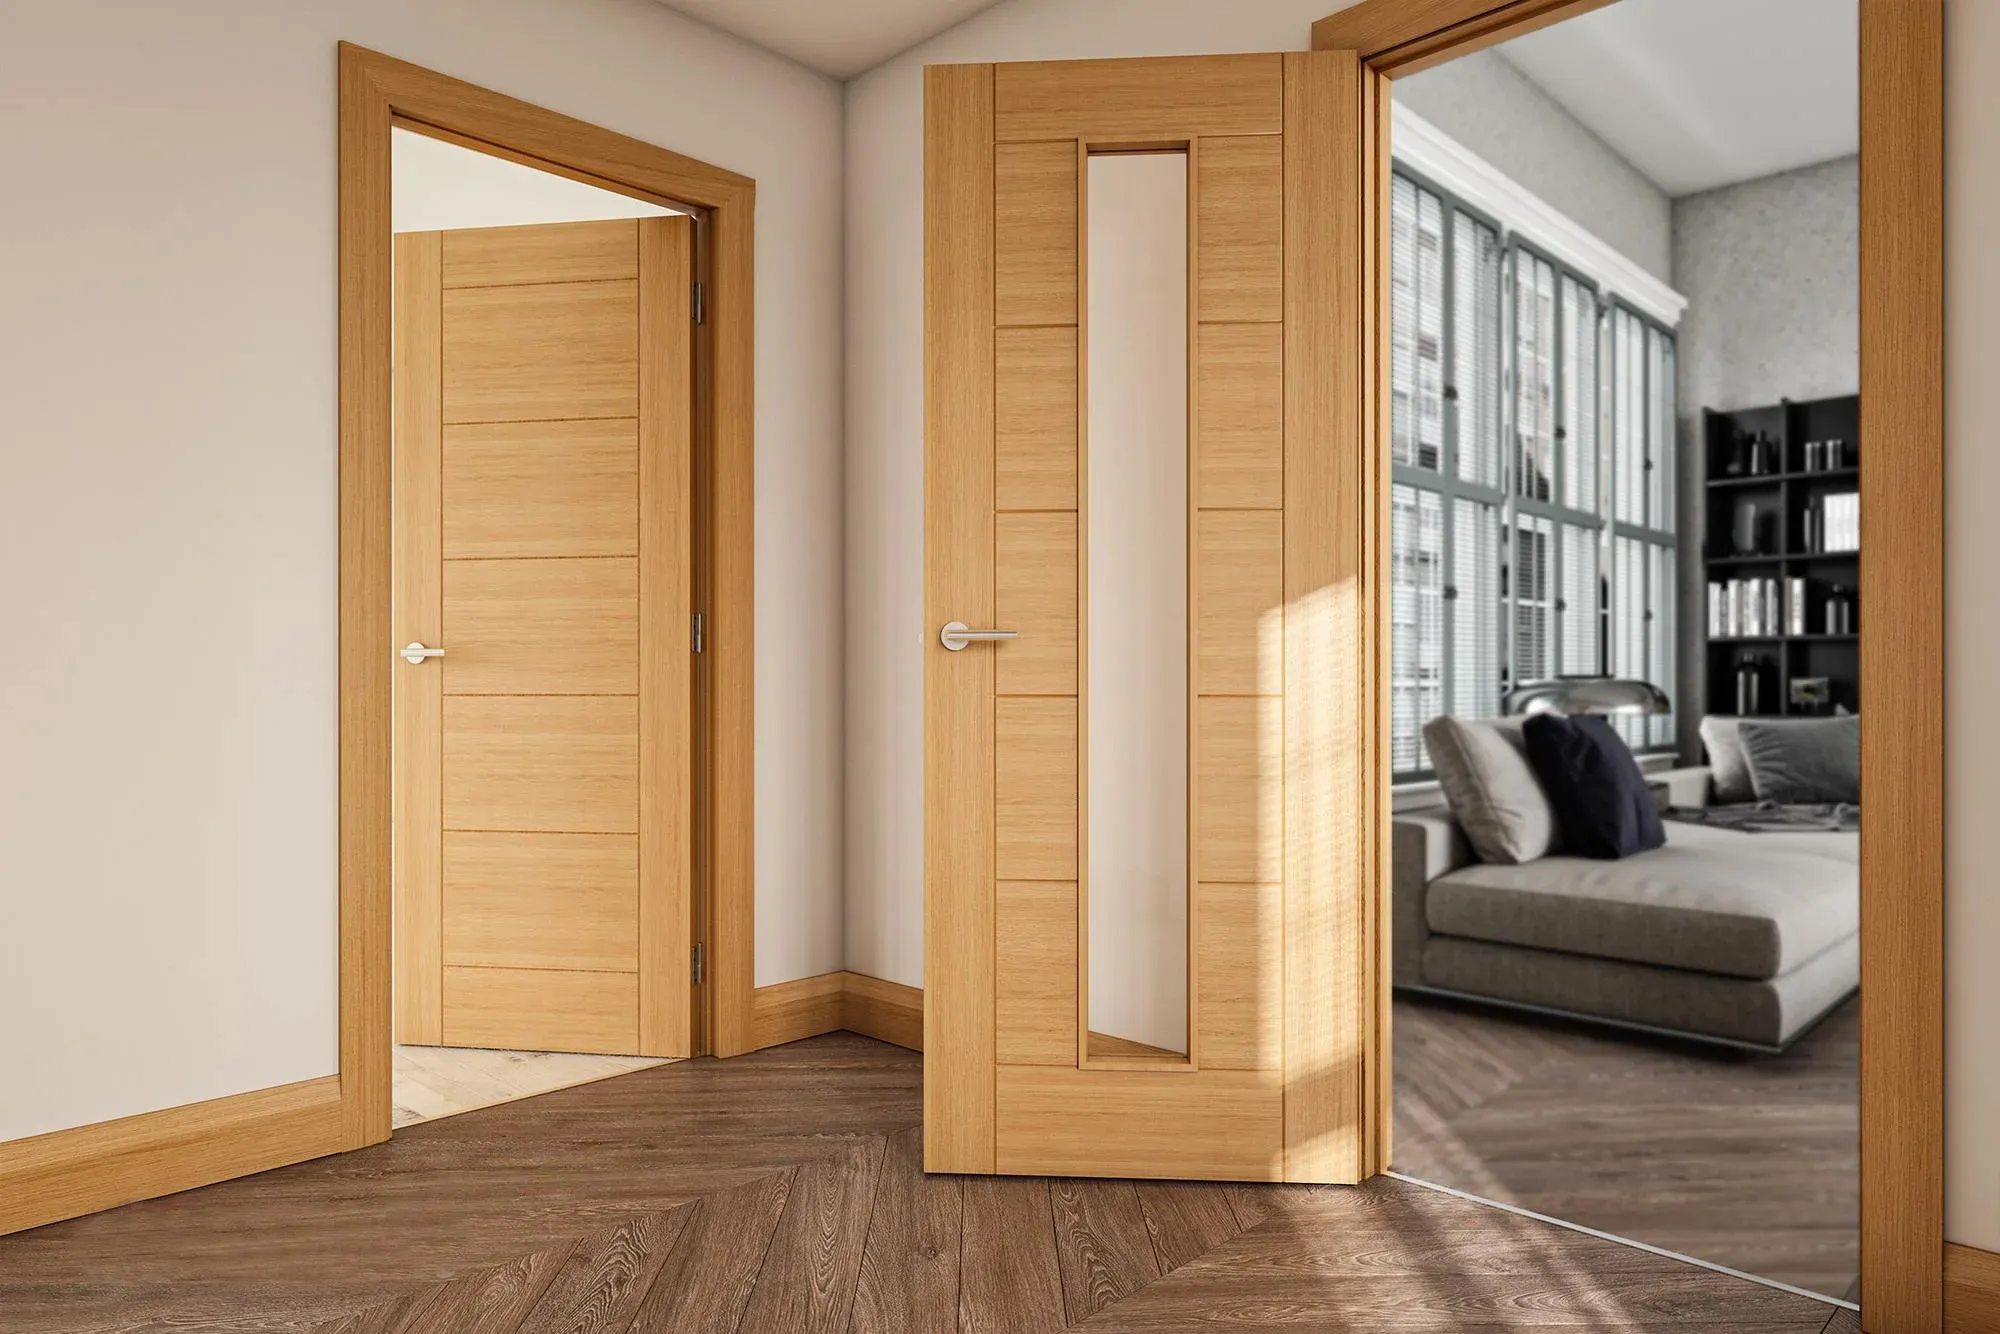
How to put hinges on a door
How to put hinges on a door
Putting hinges on a door is a task many DIY beginners can handle with the right approach. Choosing TDC hinges and proper tools helps prevent common mistakes like misalignment or using the wrong screws. By selecting TDC, you ensure that you put hinges that are designed for durability and performance. Paying attention to detail at every step leads to a secure, smooth-swinging door.
Tools & Preparation
Tools and Materials
Before you put hinges on a door, gather all necessary tools and materials. Having the right equipment ensures accuracy and efficiency.
Measuring tape
Pencil
Utility knife or chisel
Hammer or mallet
Screwdriver or drill
Level
Jigs
Corner cutters
These tools help mark, cut, and secure TDC hinges for a professional finish.
Workspace Setup
A safe and organized workspace is essential for successful hinge installation.
Clear the area of clutter to prevent accidents.
Wear gloves and safety glasses to protect your hands and eyes.
Place the door on a stable surface, such as sawhorses or a workbench.
Keep all tools within easy reach.
Tip: Good lighting improves visibility and reduces mistakes.
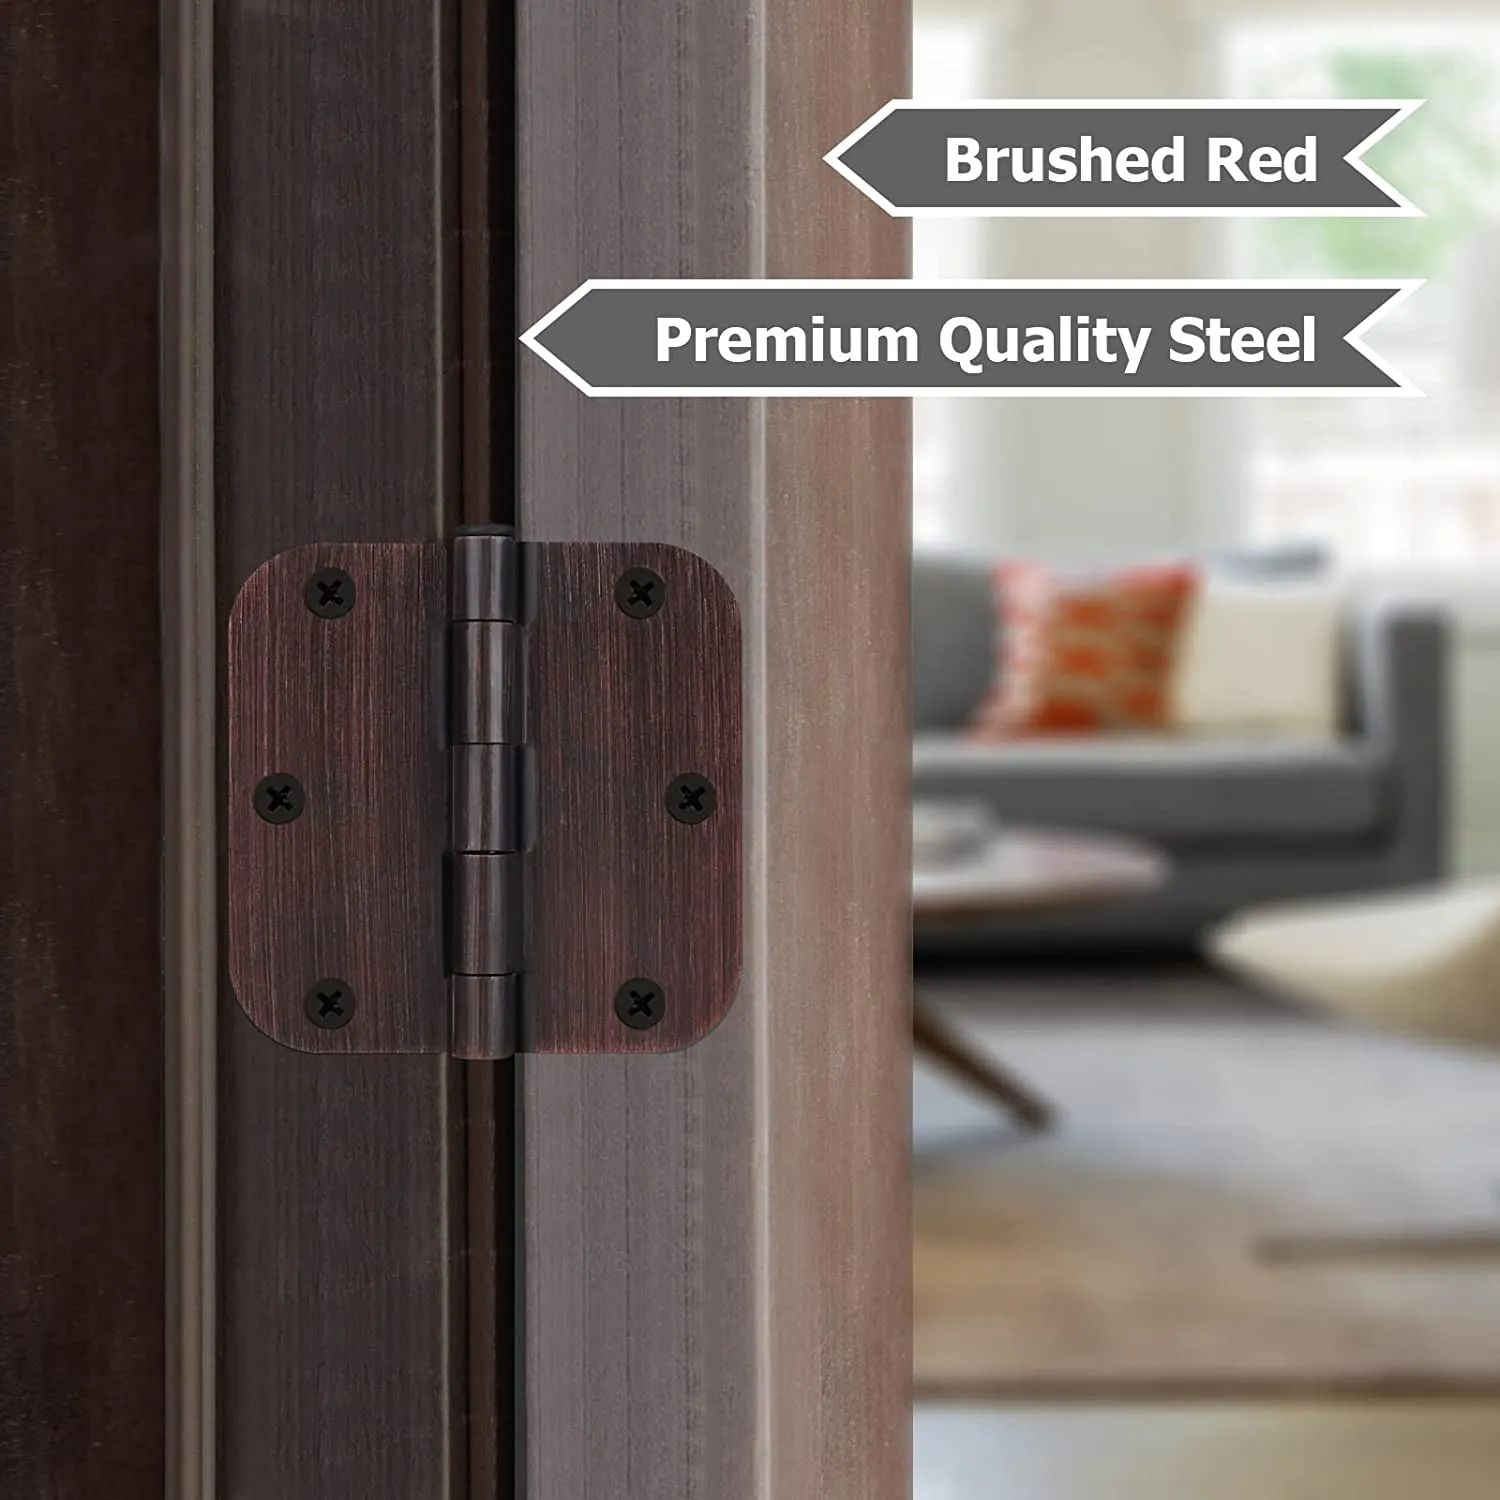
Choosing Hinges
Selecting the right TDC hinges is crucial for durability and performance. TDC offers a range of customization options, including tailored sizes, finishes, and coatings to match your climate and usage needs. Their stainless steel hinges feature built-in lubrication and ball bearings, providing smooth operation and long-lasting reliability. TDC hinges undergo rigorous salt spray testing, ensuring corrosion resistance in demanding environments.
Feature | Description |
|---|---|
Rustproof Protection | TDC hinges undergo rigorous salt spray testing for superior corrosion resistance. |
Weatherproof Coatings | Advanced anti-corrosion layers and electroplated finishes protect against rust and degradation. |
Customization Options | Clients can select finishes and coatings tailored to their specific climate and usage patterns. |
Factory-Direct Pricing | Offers competitive pricing directly from the manufacturer, enhancing value for customers. |
TDC’s U.S. warehouse shipping streamlines delivery, reduces installation time, and allows immediate project starts. Custom labeling and uniform specifications make distribution and installation faster and more efficient.


How to Put Hinges
Marking Hinge Placement
Accurate marking is the foundation for a successful hinge installation. Begin by measuring from the top of the door to the spot where the first hinge will go. The standard placement is about 5 inches from the top for the upper hinge and 10 inches from the bottom for the lower hinge. If the door is heavy or tall, add a third hinge halfway between the top and bottom hinges.
Measure and mark the hinge positions on the door edge using a pencil.
Transfer these marks to the door frame for precise alignment.
Use a square to ensure the marks are straight and level.
For different door sizes, refer to the table below:
Door Size | Distance from Edge |
|---|---|
Light (1'6") | 2" |
Medium (2'9") | 2 1/2" |
Large (5'6") | 3" |
Notes | Center hinge for heavy doors; align with inner rail edges. |
Tip: Double-check all measurements before you put hinges to avoid uneven gaps or misalignment.
Mortising for Hinges
Mortising creates a shallow pocket for the hinge leaf, allowing the door to close flush with the frame. Use the right tools for clean, accurate mortises. Common tools include chisels, routers, and mortising templates.
Tool | Advantages |
|---|---|
Chisels | Great for square corners and detailed work. |
Routers | Provide precision for rounded corners and consistent depth. |
Templates | Help guide tools for uniform mortises, especially on beveled door edges. |
Steps for mortising:
Place the hinge on the marked spot and trace its outline with a pencil.
Use a utility knife to score along the outline for a crisp edge.
Chisel or rout out a pocket about 1/8 inch deep—just enough for the hinge to sit flush.
Test-fit the hinge in the mortise. Adjust as needed for a snug fit.
Note: Avoid making the mortise too deep or too shallow. A deep mortise can weaken the door, while a shallow one can cause the hinge to stick out and create gaps.
Put Hinges on Door
After preparing the mortises, you are ready to put hinges on the door. TDC hinges offer rustproof protection and smooth ball bearing operation, making them ideal for both interior and exterior doors.
Follow these steps:
Position the hinge in the mortise and align it with the pencil outline.
Pre-drill pilot holes for the screws to prevent splitting the wood.
Attach the hinge to the door using high-quality, rust-resistant screws. Start with one screw per hinge to check alignment.
Secure the remaining screws once the hinge sits flush and straight.
When you put hinges, remember that the narrow leaf usually attaches to the door, while the wider leaf goes on the frame. This design supports the door’s weight and ensures stability.
Tip: For heavy or high-traffic doors, use longer screws and consider adding a third hinge for extra support.
Aligning and Securing Hinges
Proper alignment is essential for smooth door movement and long-term durability. TDC hinges, with their ball bearing design, help reduce friction and wear.
Steps for alignment:
Hold the door in the frame and align the hinges with the corresponding marks on the frame.
Insert one screw into each hinge leaf on the frame side.
Check the door’s swing and adjust the position if needed.
Tighten all screws securely. Replace any stripped screws with longer ones for better grip.
Use a level to ensure the door hangs straight. Add shims behind the hinges if the frame is out of alignment.
Note: Misaligned hinges can cause noise, rubbing, and even security issues. Proper alignment extends the life of both the door and the hinges.
Testing Door Movement
Testing ensures that the door operates smoothly after you put hinges. Open and close the door several times. The movement should feel smooth and quiet.
Check for even gaps around the door.
Listen for squeaks, grinding, or scraping sounds.
Make sure the latch aligns with the strike plate.
If the door does not close fully or feels stiff, inspect the hinges and frame for obstructions or misalignment.
Tip: TDC hinges feature built-in lubrication and ball bearings, which help prevent squeaks and ensure a quiet, effortless swing.
Installation Tips
Lubricate hinge pins and knuckles with a few drops of silicone or mineral oil to reduce friction.
Tighten all screws annually and check for signs of wear.
For heavy doors or high-traffic areas, use TDC commercial-grade hinges to prevent sagging.
Regularly clean and inspect hinges to maintain performance.
If the door does not open or close smoothly, check screw tightness, adjust hinge positions, or add shims as needed.
Maintenance matters: TDC’s rustproof coatings and ball bearing design help keep your door operating smoothly for years, even in humid or outdoor environments.
By following these steps, you can put hinges on a door with confidence and achieve a professional, long-lasting result.
To put hinges on a door, follow these steps for best results:
Mark hinge positions accurately.
Mortise the recesses.
Pre-drill pilot holes.
Secure hinges with screws.
Test door movement.
Inspect for gaps.
TDC hinges offer smooth operation, resist corrosion, and enhance satisfaction. Always double-check your work.
FAQ
How many TDC hinges do I need for a standard door?
Most standard doors need two TDC hinges. Heavy or tall doors may require three for extra support.
Can I install TDC hinges without special tools?
Yes. You can use basic tools like a screwdriver, chisel, and measuring tape. Power tools make the job faster.
What makes TDC hinges a good choice for exterior doors?
TDC hinges have rustproof coatings and ball bearings. These features help them last longer and work smoothly outdoors.
Related articles
-
How to measure a strap hinge length
Measure a strap hinge by placing your tape from the tip of the strap to the center of the pin and knuckle for accurate length and fit.Mar-18-2026 Learn More >> -
TDC Guide to Measuring Door Hinges Easily
Measure door hinges by checking height, width, thickness, and corner radius for a perfect fit. Use a tape measure and match screw hole patterns.Mar-18-2026 Learn More >> -

Choosing the Right Exterior Door Hinge: Key Features to Consider
Choose the right exterior door hinge by considering security, material, finish, and size for lasting durability and a perfect fit for your entryway.Mar-18-2026 Learn More >>
Contact
Tel: +8613325838282
Add: 12819 Telegraph Road Santa Fe Springs, CA 90670
Follow Us:


