How to attach cabinet door hinges using residential hinges
How to attach cabinet door hinges using residential hinges
To attach cabinet doors with TDC residential hinges, users must measure accurately, select the right TDC hinges, and follow precise installation methods. Quality hardware like TDC ensures durability. Frequent mistakes include:
Misalignment from improper leveling
Using incorrect screws or skipping pre-drilling
Poor installation techniques reducing door lifespan
Tools and Choosing Residential Hinges
Tools and Materials
Before starting the installation, gather all necessary tools and materials. Having the right equipment ensures a smooth process and reduces the risk of mistakes. The following items are essential:
Measuring tape for accurate measurements
Marking pencil to mark hinge positions
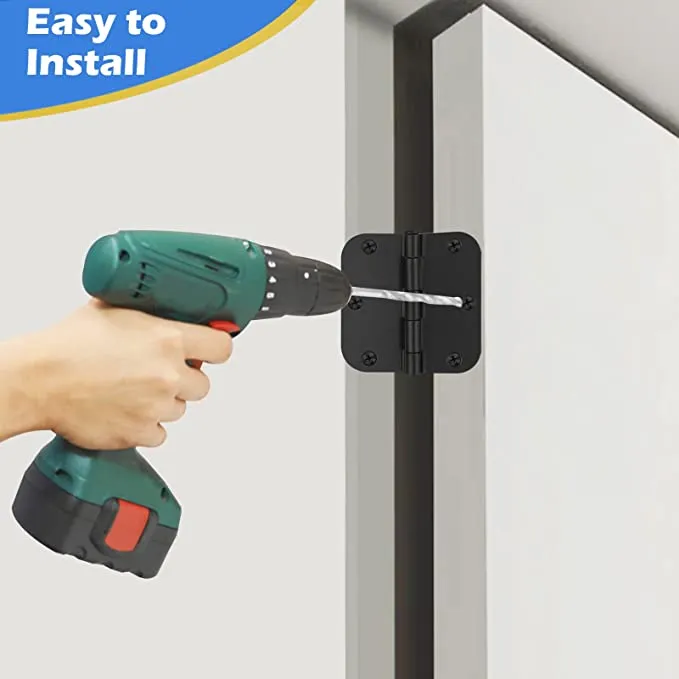
Cordless drill or screwdriver to secure TDC residential hinges
Phillips screwdriver
Flathead screwdriver
Chisel to cut hinge mortises
Utility knife to fine-tune cuts
Tip: Organize all tools on a clean workspace before beginning the installation.
Choosing Residential Hinges
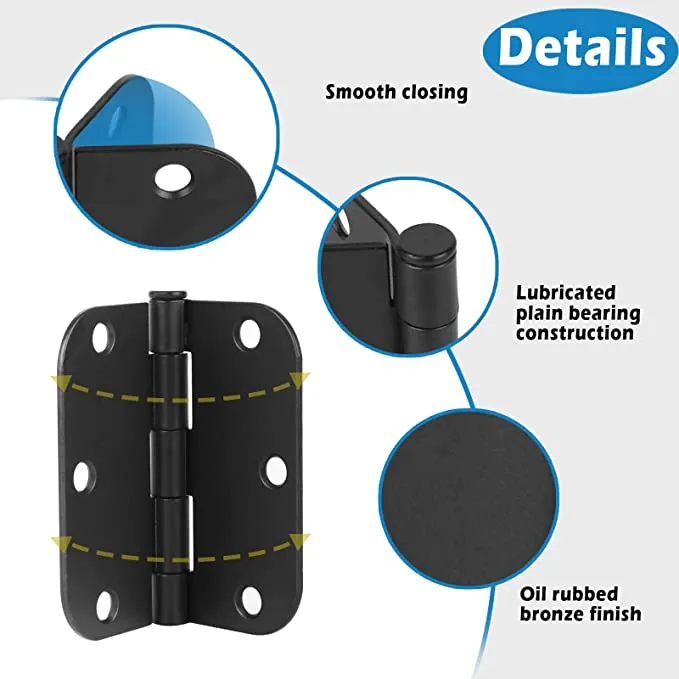
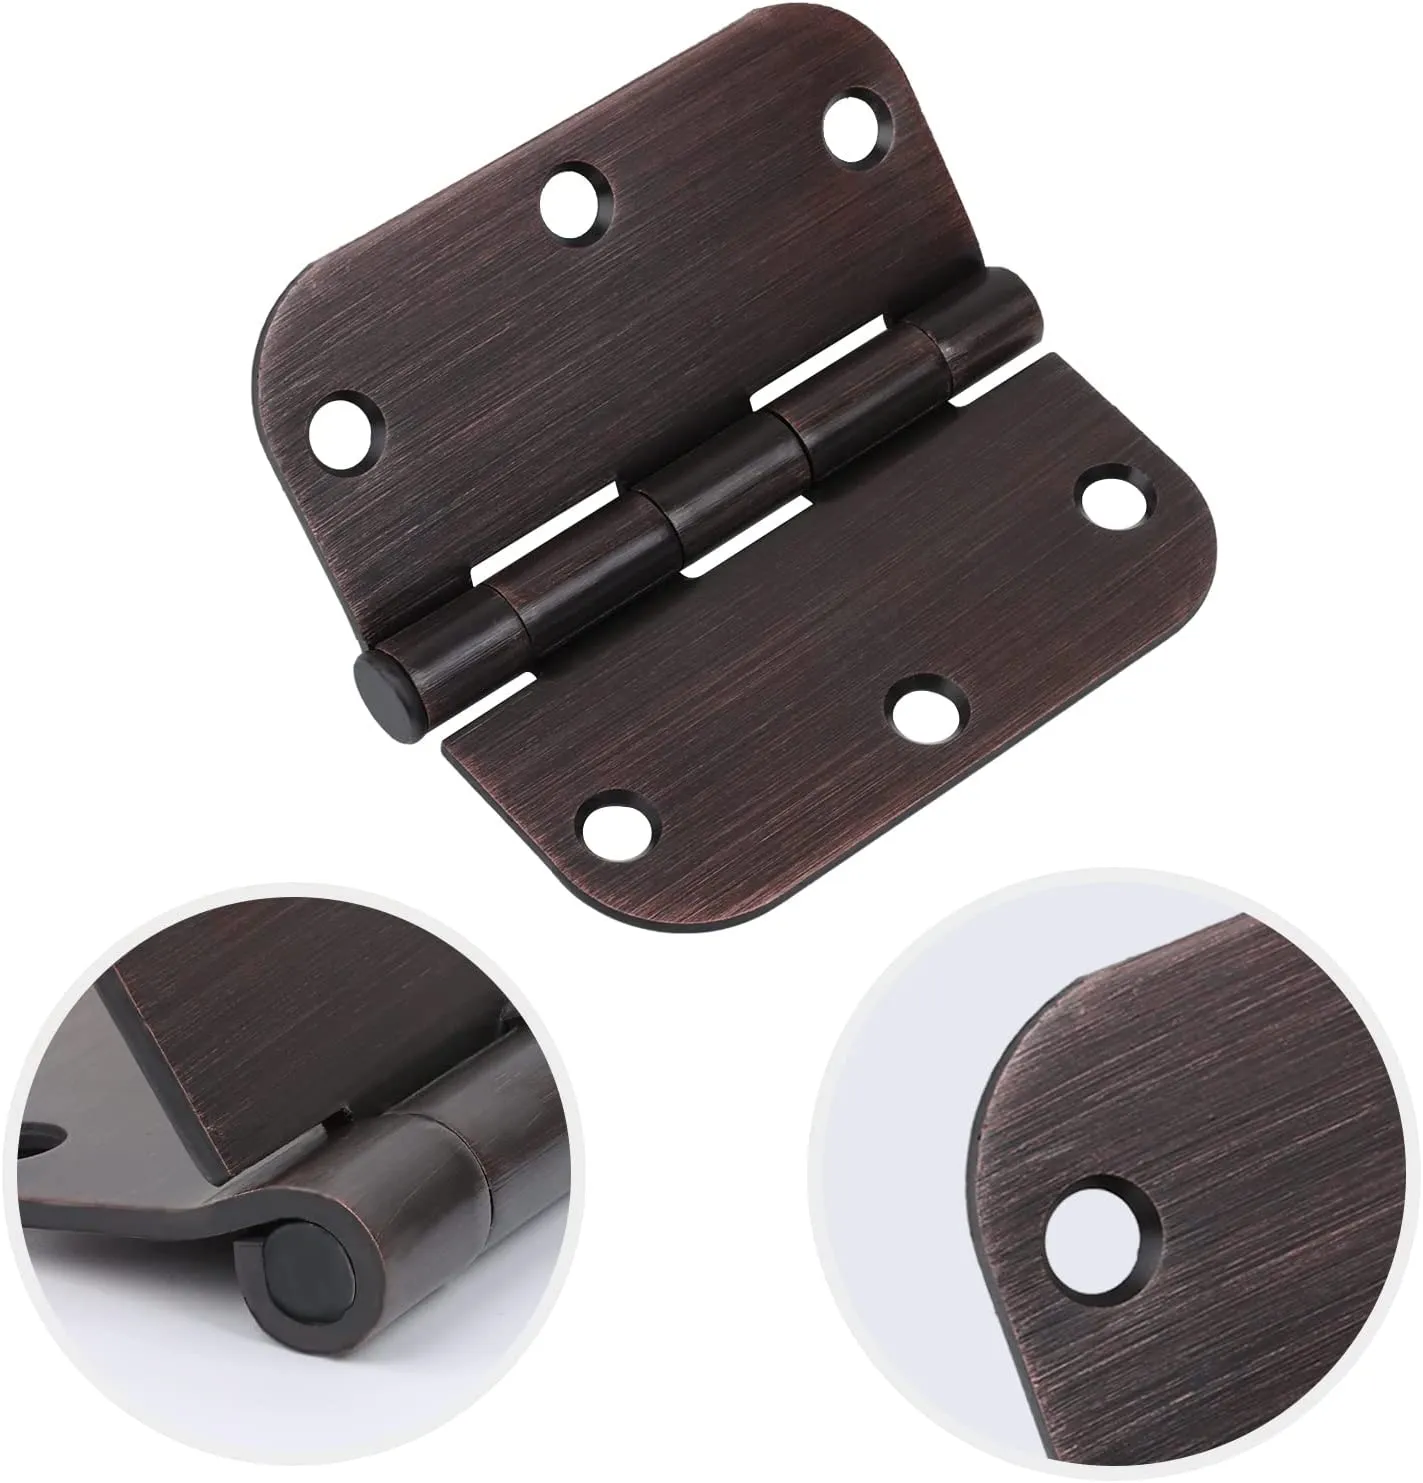
Selecting the right TDC residential hinges is crucial for cabinet door performance and longevity. High-quality TDC residential hinges, made from durable materials like stainless steel or brass, require less maintenance and resist wear. Hinges with robust finishes, such as chrome or powder coating, offer extra protection against scratches and rust. Industry research shows that high-quality hinges can withstand over 50,000 open and close cycles, making them ideal for busy homes. In contrast, low-quality hinges may lead to squeaking, misalignment, and a 25% decrease in cabinet door functionality. TDC offers a wide range of residential hinges with customization options for size and finish, ensuring a perfect match for any project.

Understanding Cabinet Types
Different cabinet and door types affect hinge selection. The table below outlines key factors and their impact:
Factor | Description |
|---|---|
Cabinet Style | Framed cabinets need hinges mounted on the frame. Frameless cabinets often use concealed hinges. |
Overlay | Full, half, or inset overlays require specific hinge designs for proper door positioning. |
Material and Finish | Choose hinge material and finish to match other hardware and enhance room aesthetics. |
Soft Close vs. Standard | Soft-close hinges offer gentle closing; standard hinges pull the door shut. |
Installation | Professional installation ensures precise alignment and a flawless look. |
Note: Full overlay doors work best with European or concealed hinges, partial overlays use variable overlay hinges, and inset doors often require butt hinges.
Installing Residential Hinges
Marking Hinge Placement
Accurate hinge placement forms the foundation of a successful cabinet door installation. Installers use the 7/11 rule to mark the positions for TDC residential hinges. This method ensures consistent spacing and prevents misalignment. The table below illustrates the recommended distances:
Hinge Position | Distance from Edge |
|---|---|
Top Hinge | 7 inches from top |
Bottom Hinge | 11 inches from bottom |
Installers mark these points with a pencil, double-check measurements, and use a leveling tool to confirm alignment. They avoid common errors by ensuring the hinges line up perfectly and by accounting for clearance requirements. Precise marking prevents doors from binding and reduces wear.
Tip: Always measure from both the top and bottom edges of the cabinet frame and door panel before marking hinge positions.
Drilling Pilot Holes
Drilling pilot holes protects the cabinet material and ensures secure mounting of TDC residential hinges. Installers select a 5/16 inch drill bit for most residential hinges, especially for brands like IKEA, but always check manufacturer instructions for compatibility. The table below summarizes key points:
Drill Bit Size | Application | Benefit |
|---|---|---|
5/16 inch | Most residential hinges | Prevents wood splitting, ensures screws drive straight |
Drilling pilot holes at the correct diameter enhances screw performance and maintains withdrawal strength. Installers drill at precise angles to avoid misalignment and use hinge jigs or Forstner bits for accuracy.
Drilling pilot holes helps proper screw insertion and minimizes wood splitting.
Pilot holes enhance screw performance without compromising strength.
Attaching Hinges to Door
Installers attach TDC residential hinges to the door first. They use temporary screws for fitting, which match or are slightly smaller than the final screws. After setting the door in its opening, they mark the top and bottom corners of each hinge with a knife. Visibility improves when installers circle these marks with a pencil.
Best practices include:
Use temporary screws for fitting.
Mark hinge corners with a knife.
Circle marks with a pencil for visibility.
Turn the cabinet on its side to finish mortise layout and test fit.
Installers select screws based on cabinet material. The table below shows recommended screw types:
Cabinet Material | Recommended Screw Type |
|---|---|
Solid Wood & Plywood | Standard hinge installation screws |
MDF & Particleboard | Screws with barbed plastic inserts (dowel screws) |
Mounting to Cabinet Frame
Mounting the door to the cabinet frame requires careful measurement and alignment. Installers measure for hinge locations and drill pilot holes using a hinge jig. They mount the TDC residential hinge to the door first, setting the drill torque low to avoid stripping screws. After marking the cabinet side of the hinge, they center the door before installation.
Steps for accurate mounting:
Measure and drill pilot holes.
Mount TDC residential hinge to door first.
Mark cabinet side for hinge placement.
Center door before installation.
Adjust and align doors using screws on concealed hinges.
Note: Concealed hinges offer adjustment screws for fine-tuning alignment after mounting.
Hanging and Aligning Door
Proper hanging and alignment ensure smooth operation and longevity. Installers verify that TDC residential hinges are even and square to the door edge before securing. They adjust hinges for width, height, and depth to achieve correct alignment.
Best practices for hanging and aligning:
Ensure hinges are square to the door edge.
Adjust for width, height, and depth.
Use shims or trim doors if necessary.
Regularly check door functionality.
Installers measure and mark hinge positions, pre-drill holes, and screw hinges starting with the top hinge. They make adjustments using hinge hardware and check door alignment and gaps.
Tip: Cabinet hinge spacers allow fine-tuning of door alignment and help correct spacing issues caused by uneven surfaces or warped wood.
Final Adjustments
Final adjustments address door sagging and uneven gaps. Installers inspect alignment, tighten hinge screws, and adjust hinge placement as needed. They deepen the hinge mortise with a chisel for better fit or add padding behind the hinge leaf using wood shims. Loose hinge screws receive reinforcement with wood filler.
Steps for final adjustments:
Inspect door alignment.
Tighten all hinge screws.
Adjust hinge placement by loosening top or bottom screws.
Deepen mortise if necessary.
Add padding behind hinge leaf.
Reinforce worn screw holes with wood filler.
Test door alignment and make final adjustments.
Installers use adjustment screws on concealed hinges to move doors inward, outward, upward, or downward. They check gaps and ensure doors open and close smoothly.
Note: Regular inspection and tightening of hinge screws every few months prevent misalignment and maintain cabinet door performance.
Troubleshooting Tips
Installers encounter common problems during TDC residential hinge installation. Solutions include:
Old doors may require filling original screw holes and creating new ones if replacement hinges do not match.
New doors need precise measuring, typically placing two hinges about 5 inches from the top and bottom, with a third hinge for heavier doors.
Alignment issues require adjustments after installation, depending on door type (overlay or inset).
Installers avoid misalignment by measuring carefully, using leveling tools, and double-checking marks. They prevent operational difficulties by selecting high-quality TDC residential hinges, which ensure smooth operation and consistent gaps. Secure installation reduces the need for ongoing maintenance and confirms long-term performance.
Tip: High-quality TDC residential hinges minimize troubleshooting and maintenance, providing reliable stability and functionality.
Prepare the cabinet door and mark hinge locations.
Drill holes and install TDC hinges.
Attach mounting plates and adjust alignment.
Careful measurement and hinge selection ensure smooth operation and durability. TDC hinges offer reliability and high satisfaction.
Seek expert help if installation issues persist or hinges are damaged.
FAQ
How does someone choose the right TDC hinges for their cabinet doors?
They review cabinet style, overlay type, and material. TDC hinges offer multiple sizes and finishes to match any residential cabinet project.
What maintenance do TDC hinges require after installation?
Installers check screws every few months and clean hinge surfaces. TDC hinges resist rust and wear, ensuring long-lasting performance.
Can TDC hinges support heavy cabinet doors?
Door Weight | Recommended TDC Hinges |
|---|---|
Light to Medium | Standard residential hinges |
Heavy | Stainless steel hinges |
TDC hinges provide reliable support for all cabinet door weights.
Related articles
-
How to Attach Residential Hinges Step by Step
Attach residential hinges with step-by-step instructions for precise alignment, secure fitting, and smooth door operation in any home installation.Mar-24-2026 Learn More >> -
What is overlay on cabinet hinges
Overlay on cabinet door hinges refers to how much the door covers the cabinet frame, impacting style, fit, and the type of door hinges you need.Mar-24-2026 Learn More >> -
Self closing hinges and their role in residential hinges
Self-closing hinges enhance safety, convenience, and energy efficiency in residential hinges by keeping doors securely closed automatically.Mar-24-2026 Learn More >> -
How to put hinges on a door
Put hinges on a door easily with step-by-step instructions, tool tips, and alignment advice for a secure, smooth-swinging door using quality TDC hinges.Mar-24-2026 Learn More >>
Contact
Tel: +8613325838282
Add: 12819 Telegraph Road Santa Fe Springs, CA 90670
Follow Us:


