Easy Tips for Installing Door Hinges at Home
Easy Tips for Installing Door Hinges at Home
Installing door hinges at home is a straightforward task that most homeowners can handle. Basic tools like a screwdriver and measuring tape make the job easy. Learning how to install door hinges brings a sense of accomplishment. Many people find that completing such projects builds confidence for future repairs.
Tools and Materials
Essential Tools
TDC Installing door hinges requires a few basic tools. Many homeowners use simple hand tools for small jobs. For larger projects, professionals often use specialized equipment. Here are some common tools you may need:
Screwdriver (manual or electric)
Measuring tape
Pencil for marking
Chisel for mortising
Hammer or mallet
Drill with bits
Jig for hinge placement, such as Porter Cable's jig or Templaco guides
Radius corner cutter for shaping corners
Guide bushing and trimmer for precise cuts
Tip: For most home projects, a screwdriver, chisel, and measuring tape are enough. Jigs and corner cutters help make the job faster and more accurate.
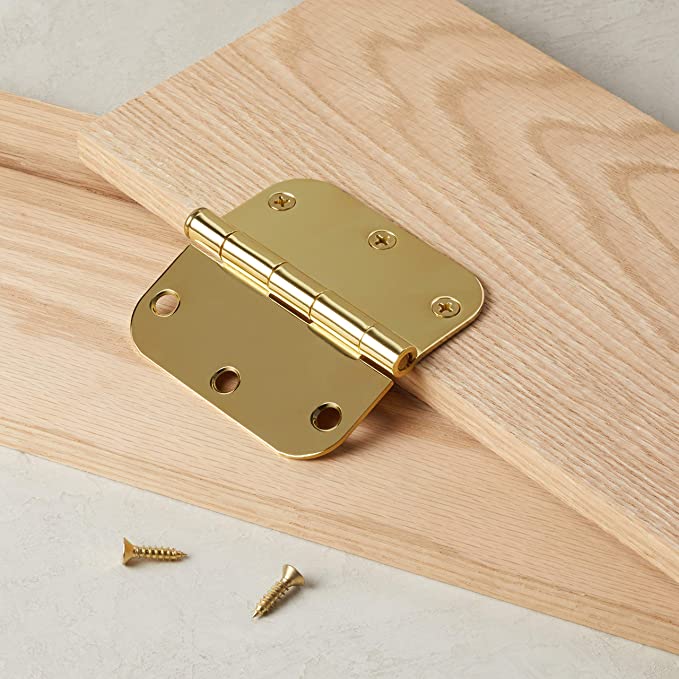
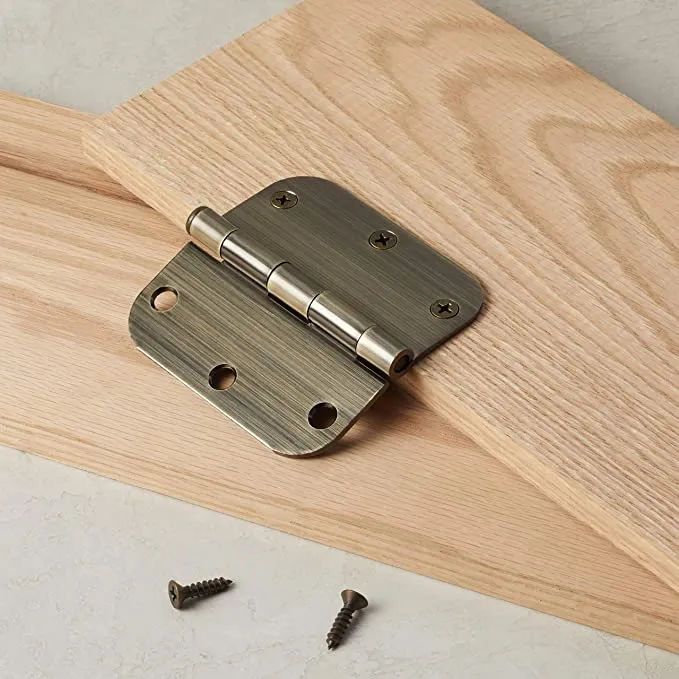
Choosing Hinges
Selecting the right hinge depends on the door's location and your local climate. Interior doors often use lighter hinges, while exterior doors need stronger, weather-resistant materials. The table below shows how climate affects hinge choice:
Climate Type | Recommended Materials | Key Considerations |
|---|---|---|
High Humidity | Stainless steel, brass, bronze | Corrosion resistance is important, especially near coasts. |
Cold Climates | Heavy-duty steel, cast iron | Hinges must handle low temperatures and weather changes. |
Dry Environments | Brass, bronze, aluminum | Hinges should resist heat and dust. |
Note: Always match the hinge material to your environment for longer-lasting results.
Gathering Materials
Before starting, gather all materials and check costs. Most supplies are available at home improvement stores. The table below outlines typical expenses:
Cost Component | Description |
|---|---|
Material Costs | Price of hinges, screws, and tools |
Labor Costs | Time for setup and installation |
Additional Expenses | Worksite preparation and protection of existing structures |
Estimated Cost Range | Installing door hinges usually costs between $54.51 and $115/door |
Having everything ready before you begin helps the installation go smoothly.
How to Install Door Hinges: Step-by-Step
Learning how to install door hinges can help you improve your home’s function and appearance. This guide breaks down each step so you can follow along and achieve professional results.
Remove Old Hinges
Removing old hinges is the first step in how to install door hinges. Safety is important during this process.
Remove the check strap before lifting off the door. This prevents damage to the door and frame.
Support the door properly to avoid injury or strain.
Wear protective equipment, such as gloves and safety glasses.
If bolts are stubborn, maintain steady control of the grinder to avoid accidents.
Tip: Ask a friend to help support the door if it feels heavy or awkward.
Mark Hinge Placement
Accurate marking ensures the door hangs correctly.
Measure about 5 inches from the top of the door for the first hinge.
Place the bottom hinge roughly 10 inches from the bottom.
If using a third hinge, position it midway between the top and bottom hinges.
Use a tape measure for precision and mark the spots with a pencil on both the door and the frame.
Note: Double-check your measurements before moving to the next step. Proper marking is key in how to install door hinges.
Cut Mortises
Cutting mortises allows the hinges to sit flush with the door and frame.
Use a sharp chisel between 1/2" and 1" wide for square corners and easy sharpening.
Try a plastic mortise template for a few hinges, or make a plywood template for better accuracy.
Consider using a self-clamping jig like HingeJigPLUS™ for quick setup and precise cuts.
Block Quote:
Pre-drill screw holes using a bit slightly smaller than the screw diameter to help prevent wood splitting.
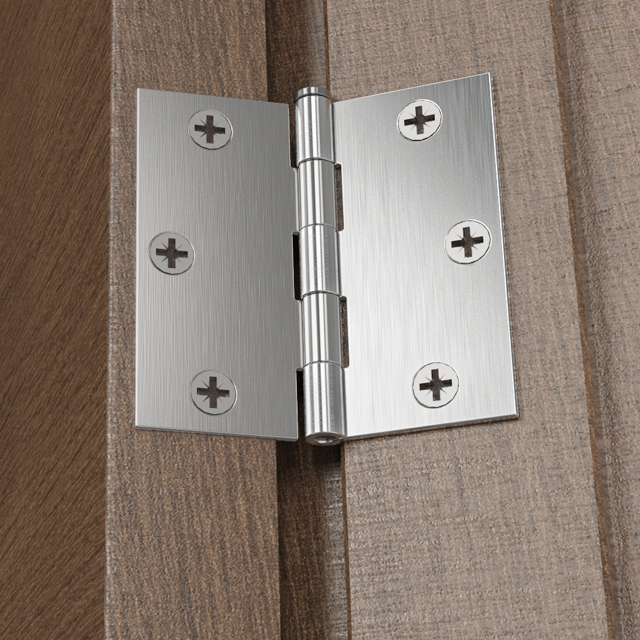
Attach Hinges to Door
Attaching hinges correctly prevents future problems.
Choose high-quality materials, such as stainless steel, for durability.
Align hinges carefully to avoid friction and wear.
Use screws that match the hinge and door type.
Lubricate hinges with silicone spray or lithium grease once or twice a year.
Inspect hinges regularly for wear and corrosion.
Tighten screws if they become loose.
Screw Gauge | Diameter (mm) | Common Use |
|---|---|---|
#6 | 3.5 | Light doors |
#8 | 3.8 | Standard doors |
#10 | 4.2 | Heavy doors |
For most hinges, screws should be at least 1.25 inches long. Using the correct screw size is essential in how to install door hinges.
Block Quote:
To prevent wood splitting, drill holes through the face of the door about 3/4" in from the edge and intersecting the screw holes, then glue 3/8" dowels in them. You can then drill new pilot holes for 1 1/4" screws and the hinge will hold.
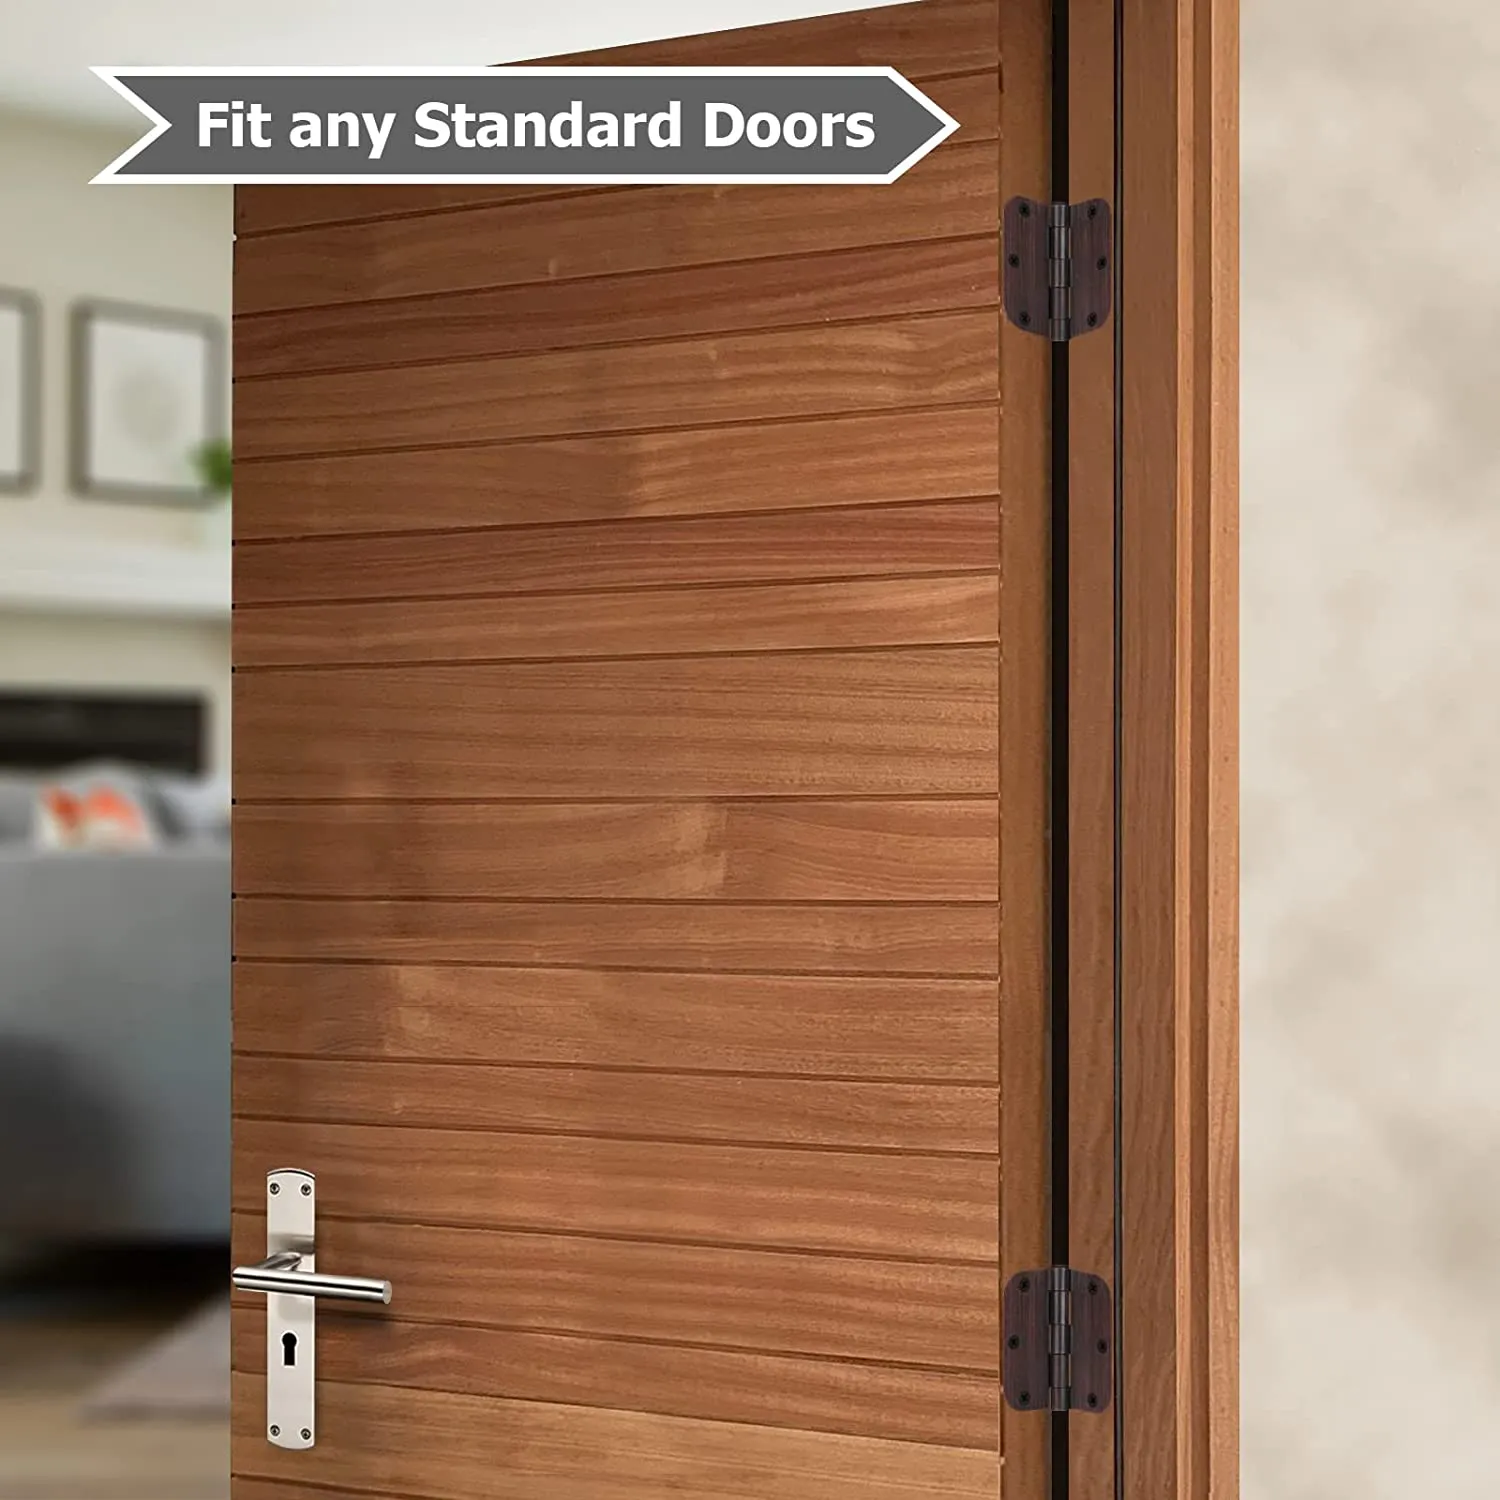
Install Door to Frame
Installing the door requires careful alignment.
Position the door in the frame using shims to keep it level and plumb.
Mark hinge locations on both sides of the jamb.
Remove the door from its hinges.
Pre-drill pilot holes to make screwing easier and prevent splitting.
Attach hinges to the jamb so they sit flush when closed.
Use a power drill to screw each hinge plate into wood blocking behind the jamb.
Reattach the door and check alignment by opening and closing it several times.
Adjust shims if needed for proper alignment.
Install screws through all hinge holes until secure.
Tip: Always check the door jamb for level before final installation. This step is crucial in how to install door hinges.
Align and Secure Hinges
Proper alignment ensures smooth operation.
Inspect each hinge for loose screws and check alignment with the door and frame.
Look for signs of misalignment, such as rubbing or sticking.
Adjust hinges slightly before tightening screws.
Close the door and observe where it rubs to identify which hinge needs adjustment.
If the door sticks at the top, check the top hinge for depth or the bottom hinge for protrusion.
If the door sticks at the bottom, check the bottom hinge for depth or the top hinge for protrusion.
If the door sticks along the latch side, the entire door may be too close to the frame.
Note: Make sure the hinge pin is on the correct side for the intended door swing.
Left-handed door: Hinges go on the left side as you face the door.
Right-handed door: Hinges go on the right side.
Test and Adjust Door
Testing the door is the final step in how to install door hinges.
Use the string test to check for warping. Wrap a string from the top to the bottom of the door; gaps indicate warping.
Inspect for binding by ensuring the frame is plumb.
If the door binds, bend the hinge pin slightly to improve operation.
Check the door from corner to corner on both sides for twisting.
Make hardware adjustments only after confirming the frame’s installation.
Signs of improper hinge alignment include:
The door rubs against the frame.
The door sags.
Hinges are loose or damaged.
Uneven gaps appear around the door edges.
The frame shows misalignment or warping.
Tip: Test the door several times after installation. Smooth operation means you have learned how to install door hinges successfully.
Installation Tips and Common Mistakes
Avoiding Mistakes
Many homeowners encounter errors during door hinge installation. Common mistakes include misalignment of hinges, incorrect drilling, and neglecting clearance requirements. Poor hinge security can also cause sagging doors.
Misaligned hinges often result in doors that do not close properly or wear out quickly.
Using the wrong drill bit size or letting the drill wander can damage the hinge area.
Failing to leave enough clearance may cause the door to bind, especially with temperature changes.
Choosing hinges that are too small or weak for the door’s weight leads to instability.
Tip: Always measure carefully, use the correct tools, and select hinges rated for your door’s weight.
Quick Fixes
If a door does not close smoothly after installation, several quick fixes can help.
Adjust hinge screws slightly to improve the door swing.
Check that the door stop has a small gap to prevent rubbing.
Make sure hinges sit flush with both the door and frame. If needed, add shims behind the hinge leaf.
A table of troubleshooting steps for misaligned hinges:
Step | Action |
|---|---|
Inspect alignment | Look for gaps and uneven spacing |
Tighten screws | Ensure all screws are snug |
Adjust hinge placement | Loosen screws to reposition the door |
Deepen mortise | Use a chisel if the hinge sits too high |
Add padding | Insert wood shims if needed |
Reinforce screw holes | Use wood filler for loose screws |
Test and adjust | Open and close the door to check |
Maintenance Advice
Regular maintenance extends hinge lifespan and prevents squeaking.
Inspect hinges every three to six months for rust, loose screws, and dirt.
Clean hinges with a microfiber cloth and small brush.
Tighten screws to keep hinges secure.
Lubricate hinges to reduce friction and prevent rust.
Control humidity in the area to avoid corrosion.
Note: Hinges should be checked every few months, especially in high-use or humid environments. Proper lubrication and cleanliness during installation help prevent squeaking and wear.
Anyone can install door hinges at home with patience and the right steps. Celebrate your success and enjoy a smoothly working door. For more DIY confidence, explore these helpful resources:
FAQ
How do I know which hinge size fits my door?
Check the door thickness and weight. Most interior doors use 3.5-inch hinges. Heavy or exterior doors may need 4-inch or larger hinges.
What should I do if the screw holes are stripped?
Tip: Fill the holes with wood glue and toothpicks or dowels. Let dry, then reinsert screws for a secure fit.
Can I reuse old hinges when installing a new door?
Old hinges may work if undamaged. Inspect for rust or wear. Replace if hinges show signs of bending, corrosion, or loose pins.
Related articles
-
How to Choose the Perfect Inside Door Hinges for Every Room
Choose the right inside door hinges by considering door weight, room use, hinge type, and finish for smooth function and a style that fits your home.Feb-03-2026 Learn More >> -
Types of Door Hinges That Make Home Upgrades Easy
Types of door hinges like butt, ball bearing, and concealed hinges offer easy home upgrades, improved function, and style for any door or renovation project.Feb-03-2026 Learn More >> -

How Industrial Hinges Are Shaping Manufacturing Trends in 2026
Industrial hinges boost efficiency, safety, and adaptability in manufacturing, driving 2026 trends like smart features, sustainability, and automation.Feb-03-2026 Learn More >> -
Everything You Need to Know About Residential Door Hinges
Find the best residential door hinges for your home by matching hinge type, size, and material to your door’s weight, location, and usage needs.Feb-03-2026 Learn More >>
Contact
Tel: +8613325838282
Add: 12819 Telegraph Road Santa Fe Springs, CA 90670
Follow Us:


